We can't find the internet
Attempting to reconnect
Mercedes Models - Connect GO Device Instructions
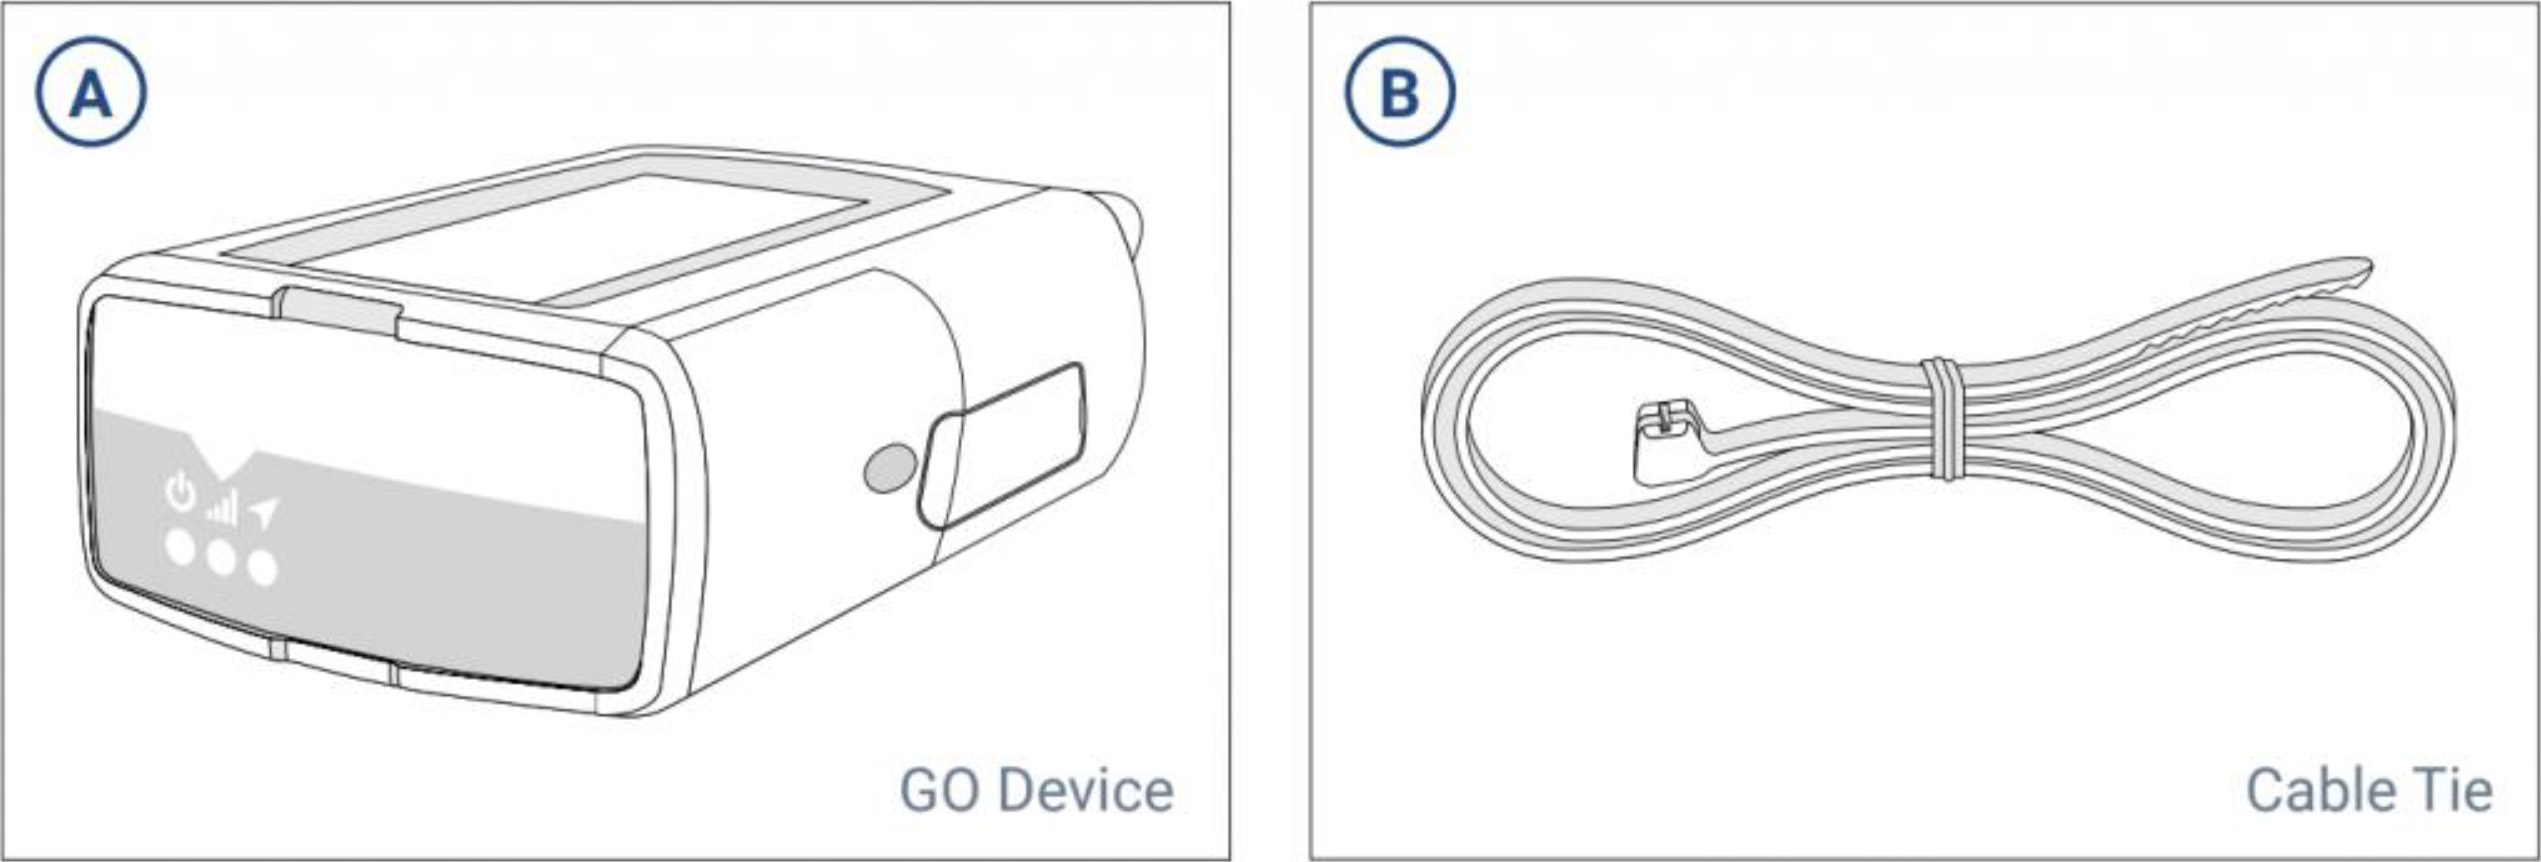
Your package should have included a GO Device and Cable Tie.
Part I: Installing the GO Device
- Remove the GO Device from its box. Retain the box for future reference to the GO Serial Number.
- Locate the OBD-II port in your vehicle. This port is usually located in the area under the steering wheel, above the gas pedal. The port has a protective black cover on it. Open the cover so you can see the OBD-II port.
-
Once located, insert the GO device into the OBD-II port and press firmly to ensure a secure connection. Refer to
‘Part II: Confirming the GO is Operational’
below, to confirm the device is working as expected.

Part II: Confirming the GO is Operational
After you install the device, please ensure that the LED lights are indicating the GO device is working:
- All three LEDs on the GO device will flash briefly. During the 5-minute setup process, the device may also beep repeatedly as it updates to the latest settings.
-
Wait until you see all three LEDs are solid
- Red – Power / Device Configuration
- Green – Cellular Network Connectivity
- Blue – GPS Network Connectivity
If all three LEDs turn solid, the unit has connected successfully.
Note: If one or more of the LEDs is still flashing, please refer to the troubleshooting instructions listed here.
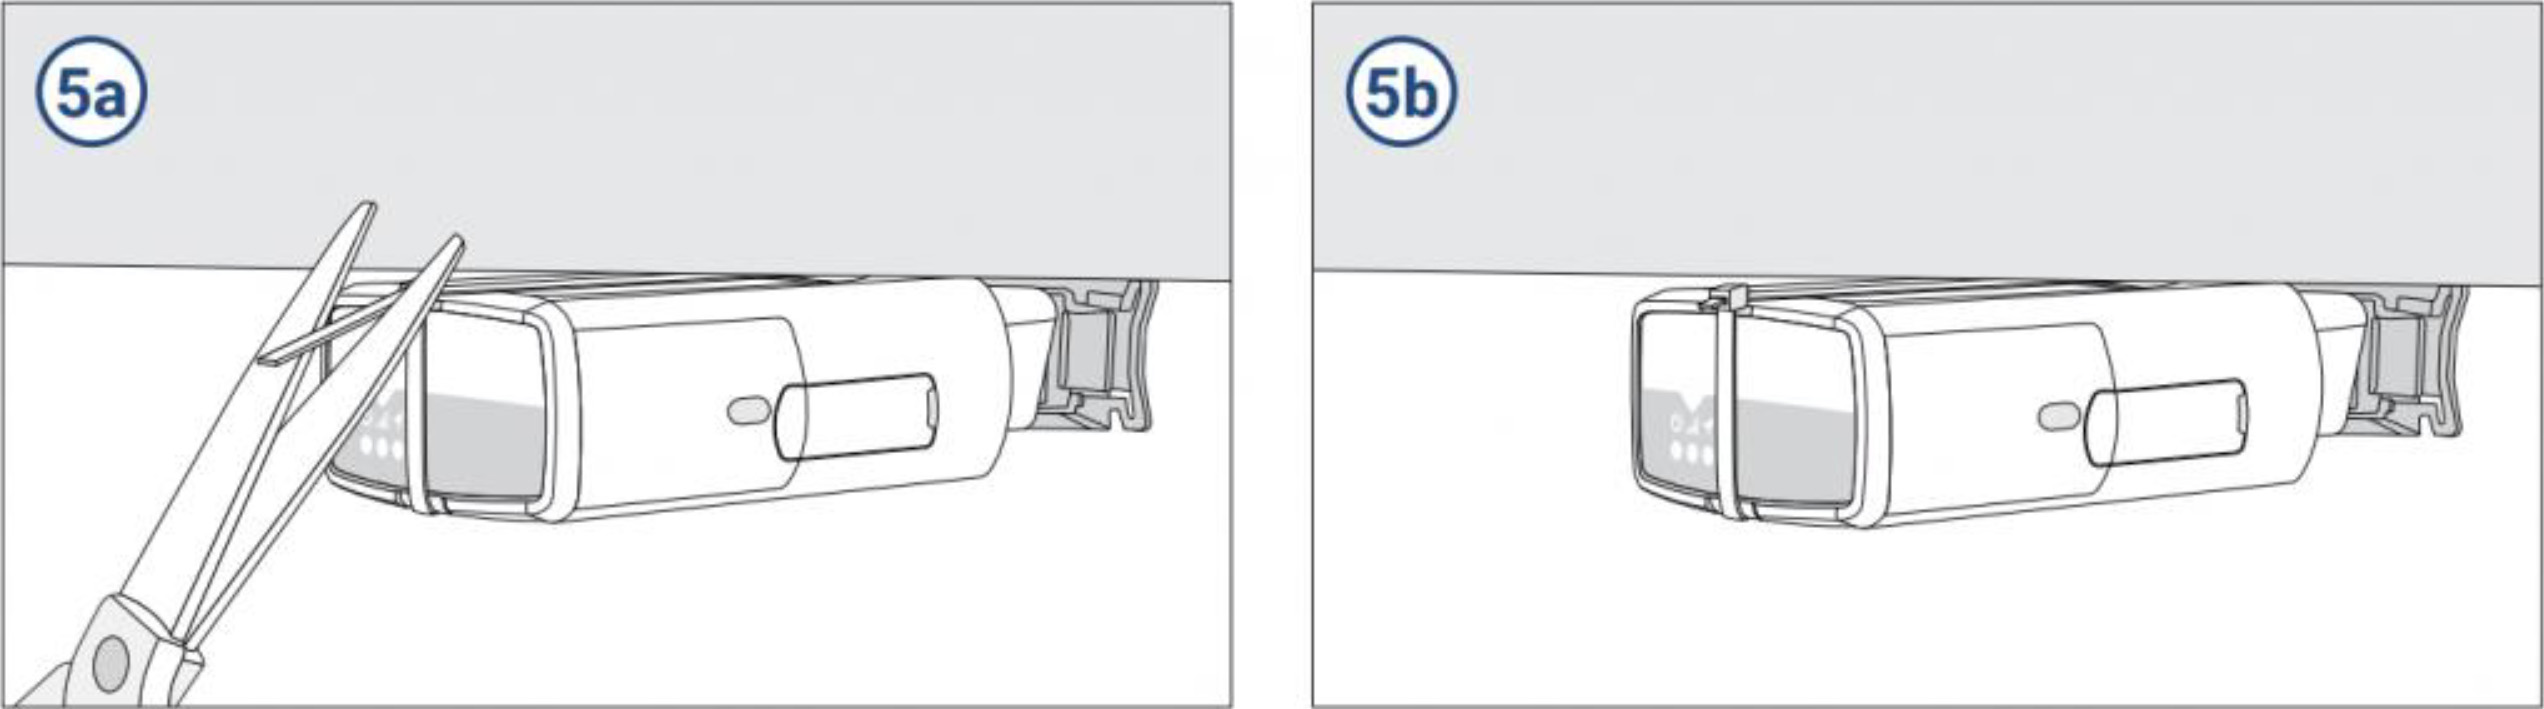
Part III: Securing the GO device
-
It is recommended for most vehicle models to secure the GO device to the OBD-II port with a cable tie as shown below. If you are unable to use the cable tie in your particular vehicle model, rest assured that FleetCarma will notify you via email if any issues are detected with the connection of your device.
The installation is now complete.